In anticipation of my rapidly growing tomato plants, I want to share my “sauce” recipe with you!
But first, let me show you the almost fruits of my labor.
***Heads up! There are some fish guts pictured below…..they’re not that bad but it’s always nice to warn folks. 🙂
Aside from some herbs, I have never successfully grown anything. Now, I can’t say that I had ever really tried, I just knew that I was really good a killing things that already existed, except my succulent. Anyway, my last job was at a gardening magazine, so naturally…I got the gardening bug. However, I wasn’t interested in investing my time until after we listed our house and I switched jobs. So….here we are 18 months later and I’m growing monster plants.

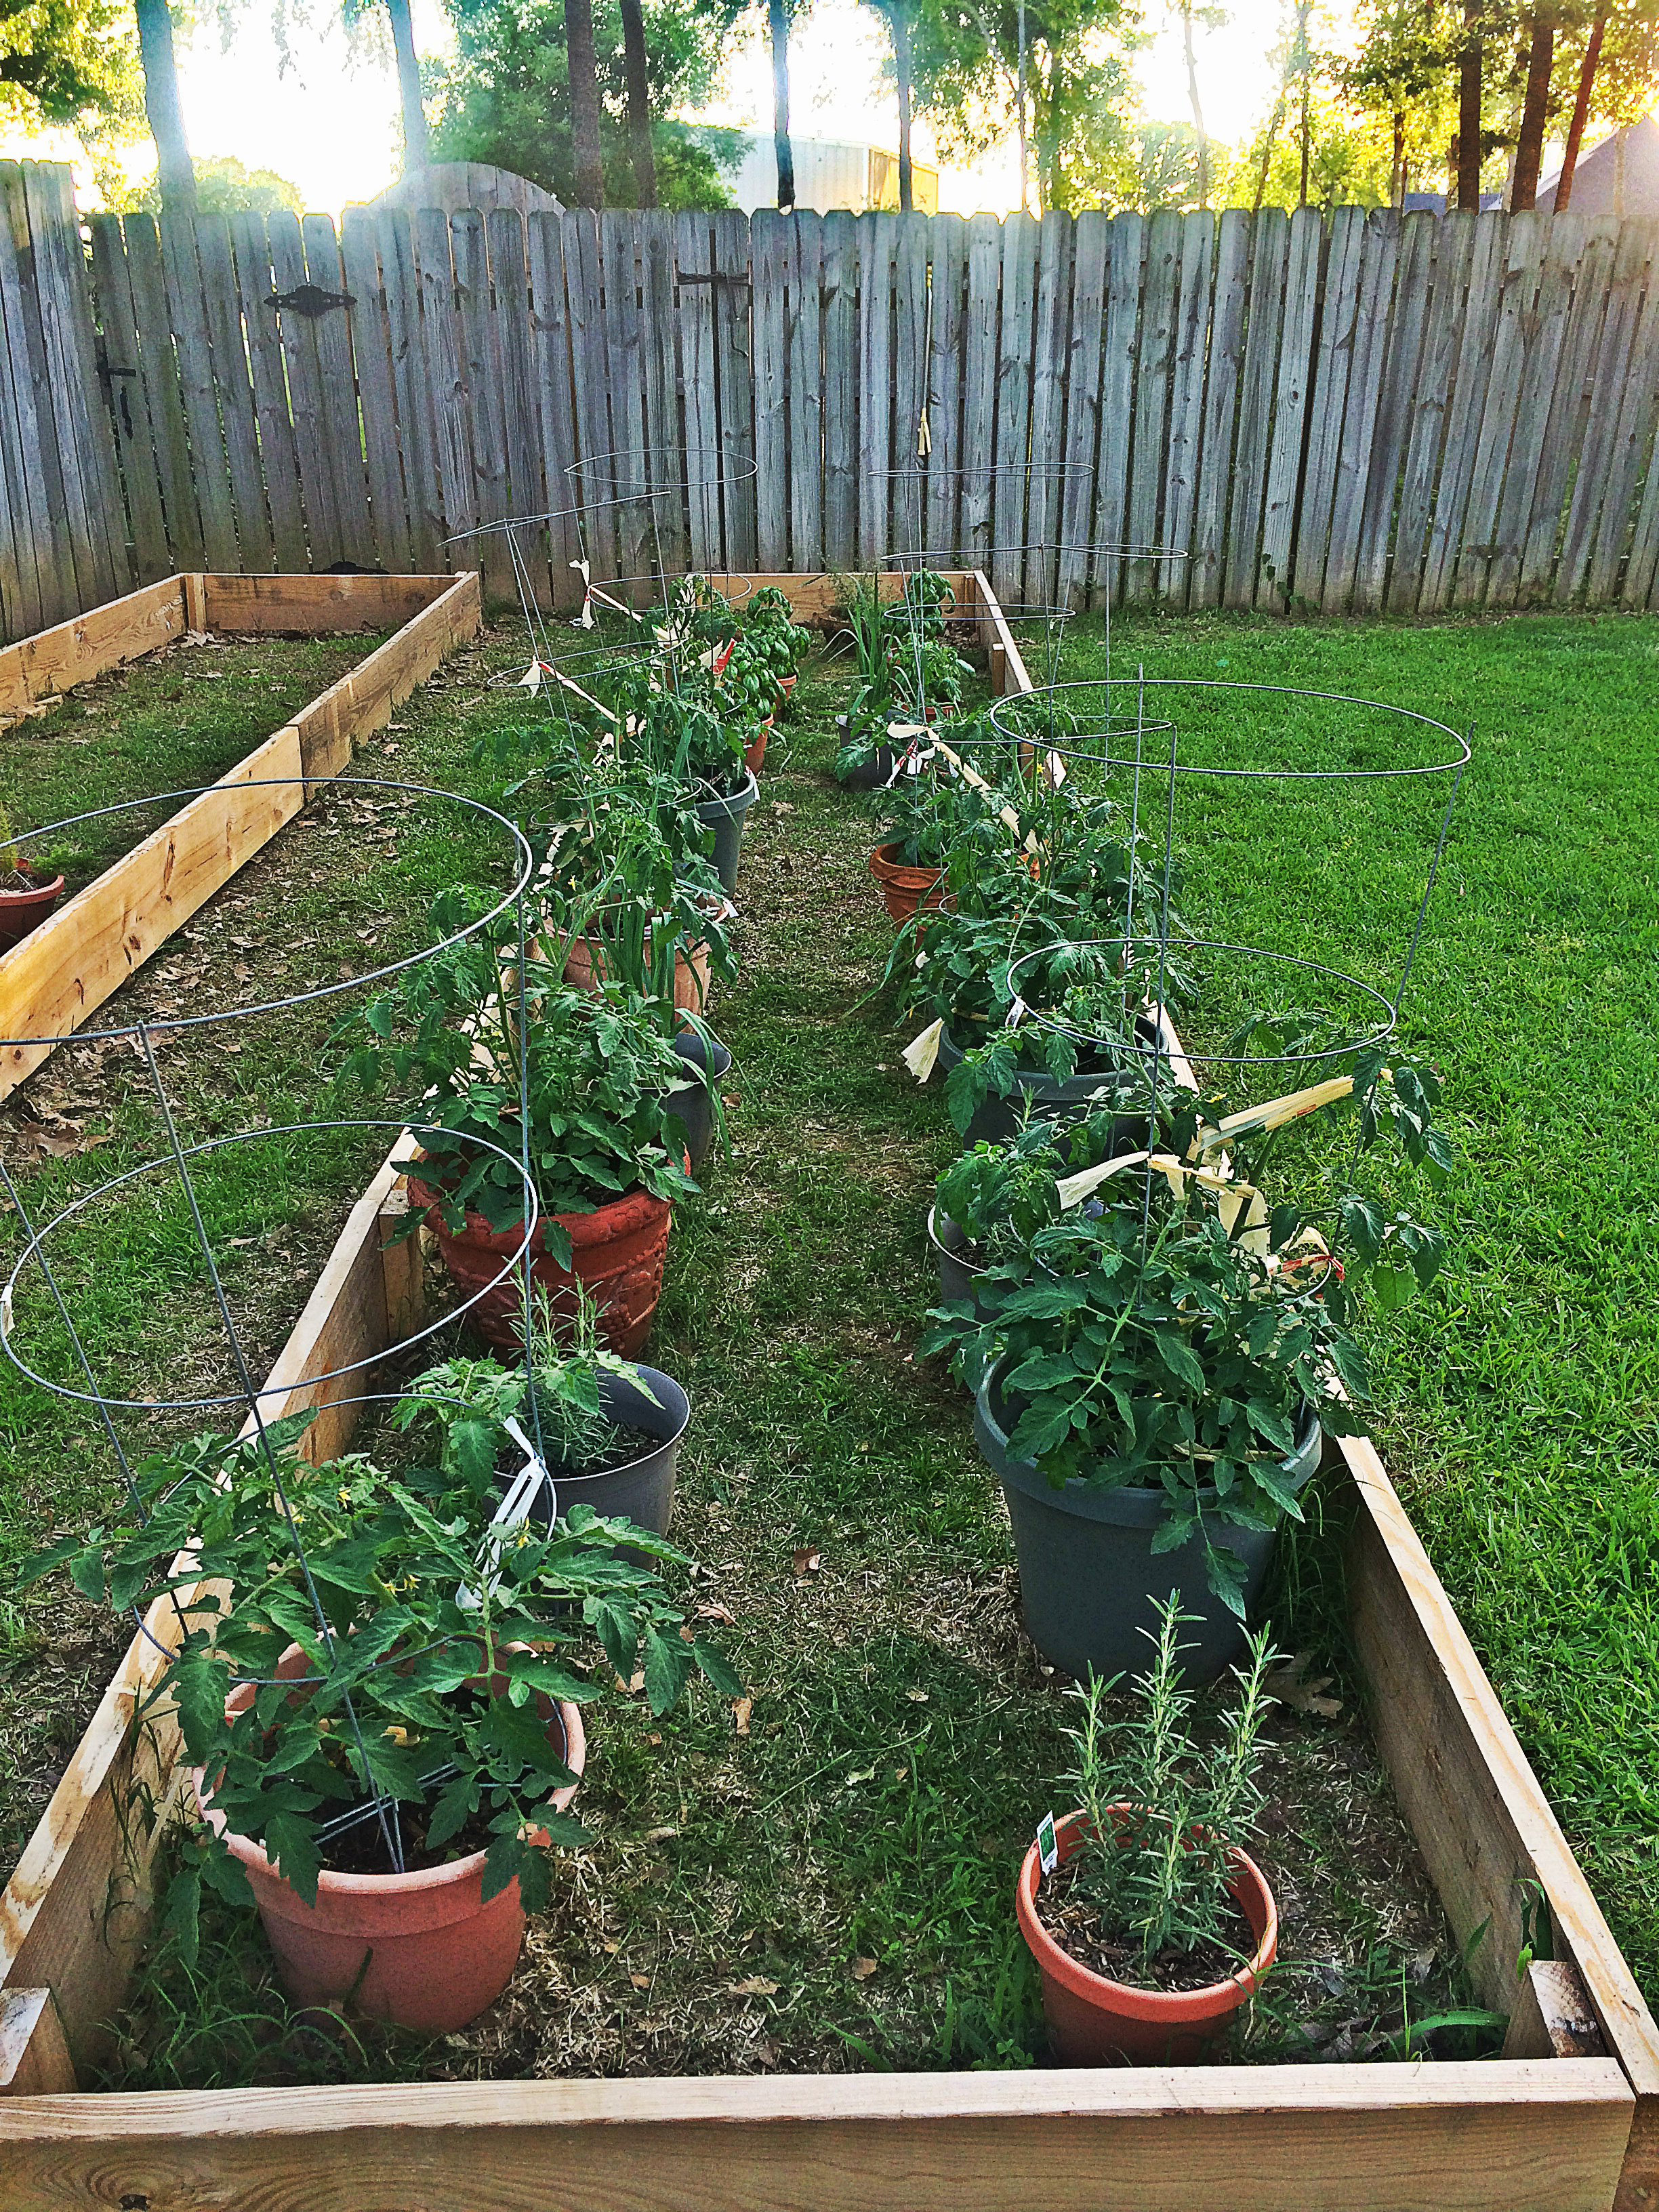
See, monsters. Two weeks old and the majority of the leaves are this size or bigger. Mom and I recently pruned about half of the leaves and you can’t even tell we did that. I’m sure once these are re-potted into bigger containers, they will be a force to be reckoned with.
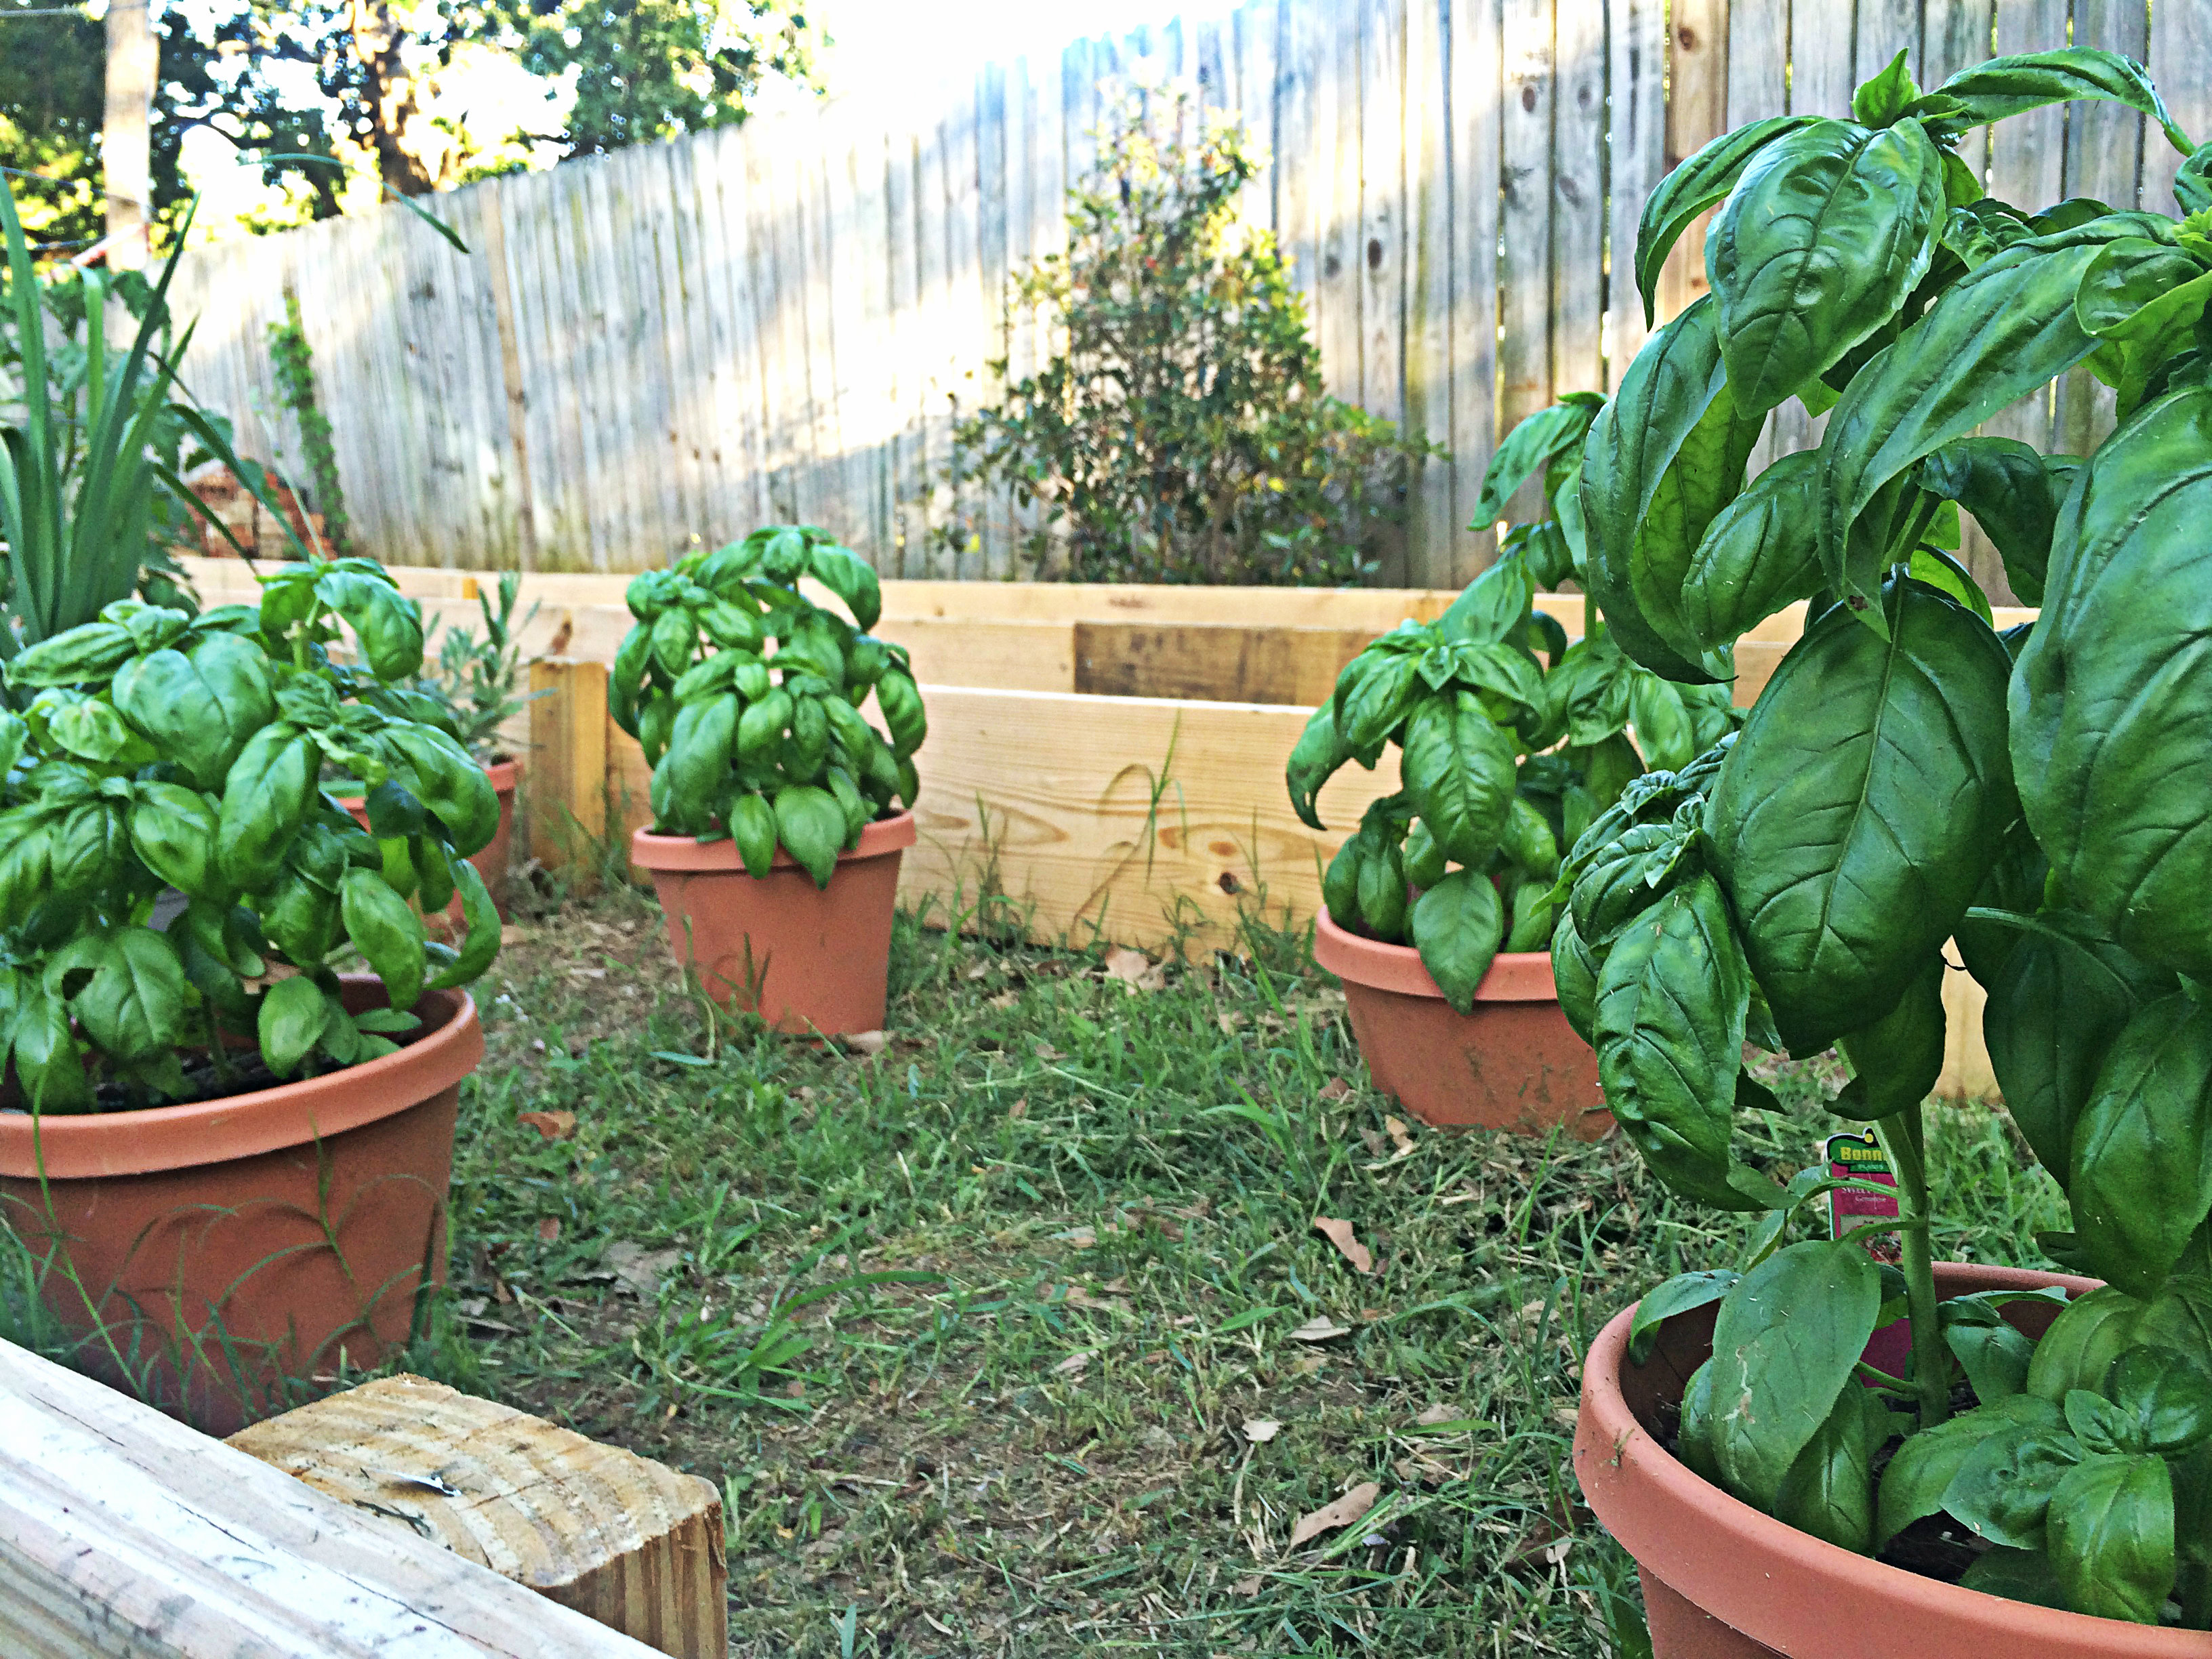
Side note: I calculate the life of my plants from the time I bought and potted them, not from when the seed was planted originally. And as you will see, we bought all the plants as little seedlings.
The secret is NOT miracle grow, or even osmocote. As you may have guessed, it’s fish guts, or more accurately…all the left-overs from cleaning fish fillets . I thought it was crazy, especially as I was hacking frozen congealed carcasses and all the bits that went along with it, in the driveway with a hatchet…as the neighbors watched through the blinds. Not one of my best moments.
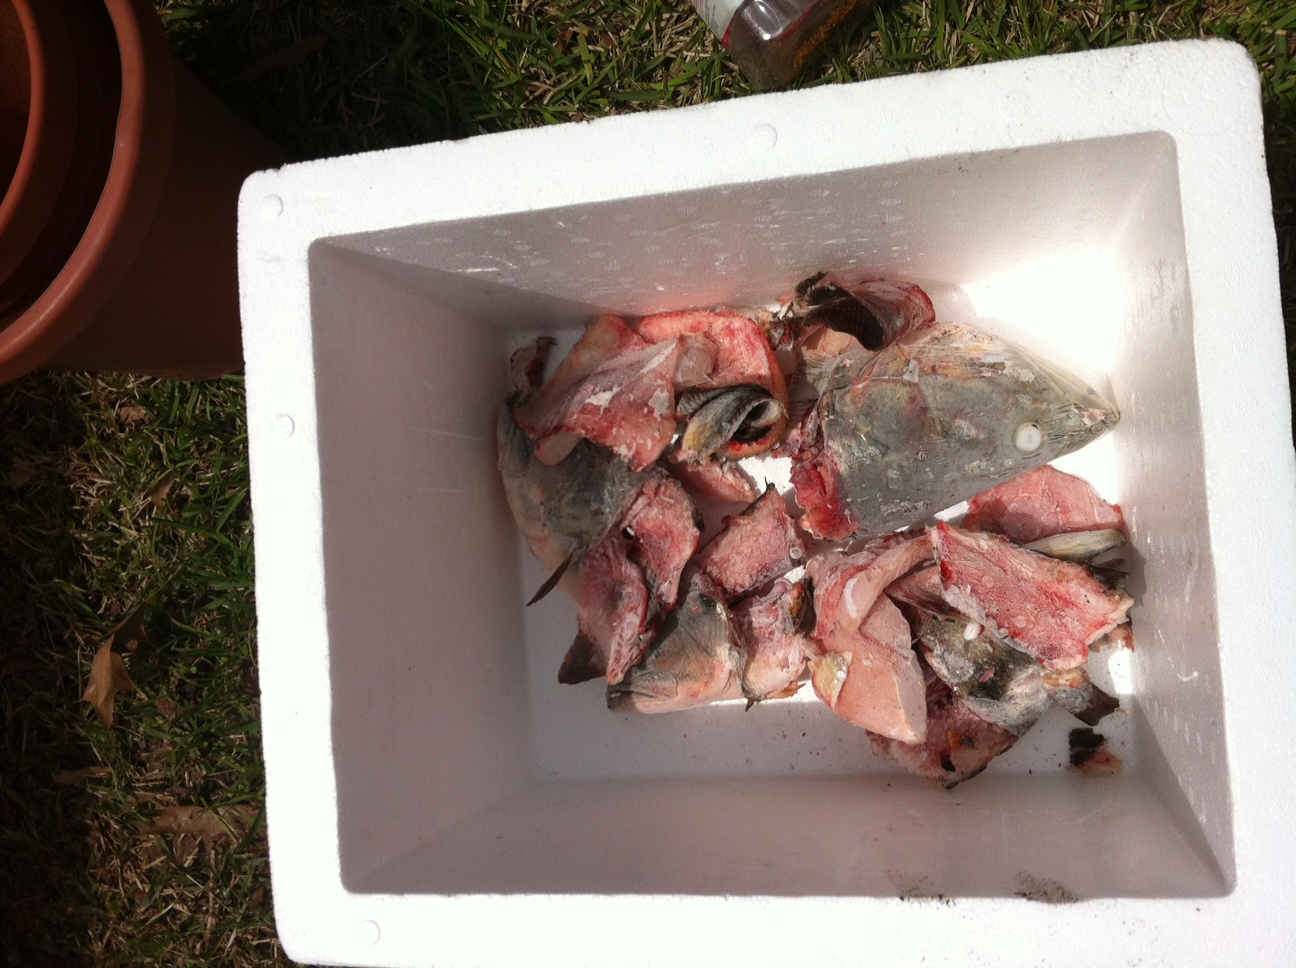
However, if you’re ever in need of some stress relief, just go fishing or send the Hubs, clean some fish, freeze all the extra bits and bobs in a black garbage bag, then take your weapon of choice, whether it be a hatchet, baseball bat, golf club (maybe not), ax, machete, or even a rock and beat the ever-living daylights out of the block of nasty. Warning: you WILL have an obscene amount of scales and probably fish tails to clean up afterwards though.
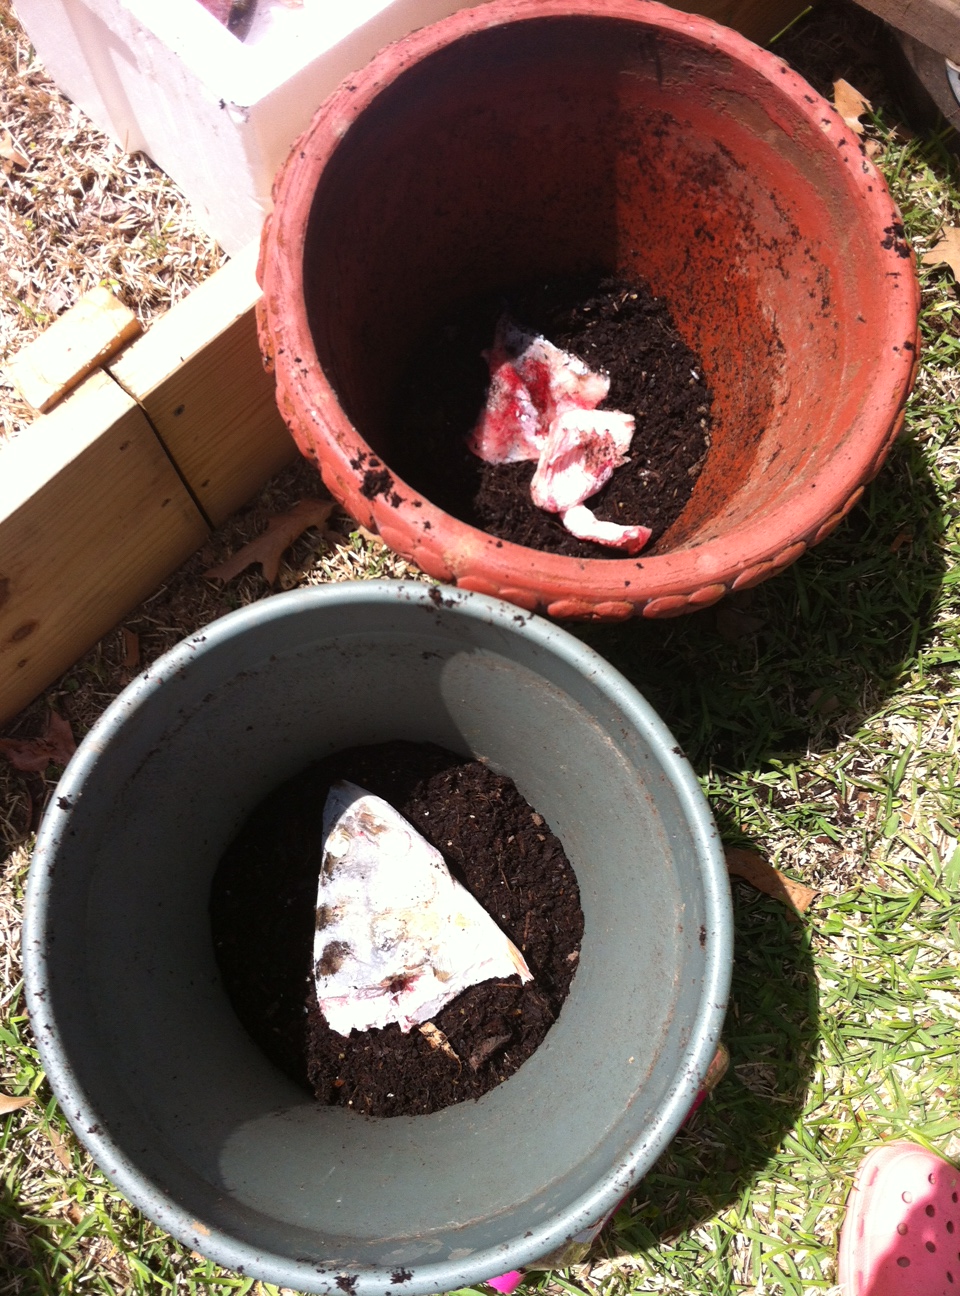
I would advise any of you that venture to try this method, to go ahead and have all your pots, containers, raised beds or whatever prepped before even taking the fish out of the freezer. They thaw pretty rapidly and the whole point in freezing the questionables is to eliminate odor until it is well under the dirt and deter critters, pets and curious kiddos. From there, it’s just all sunlight and water.

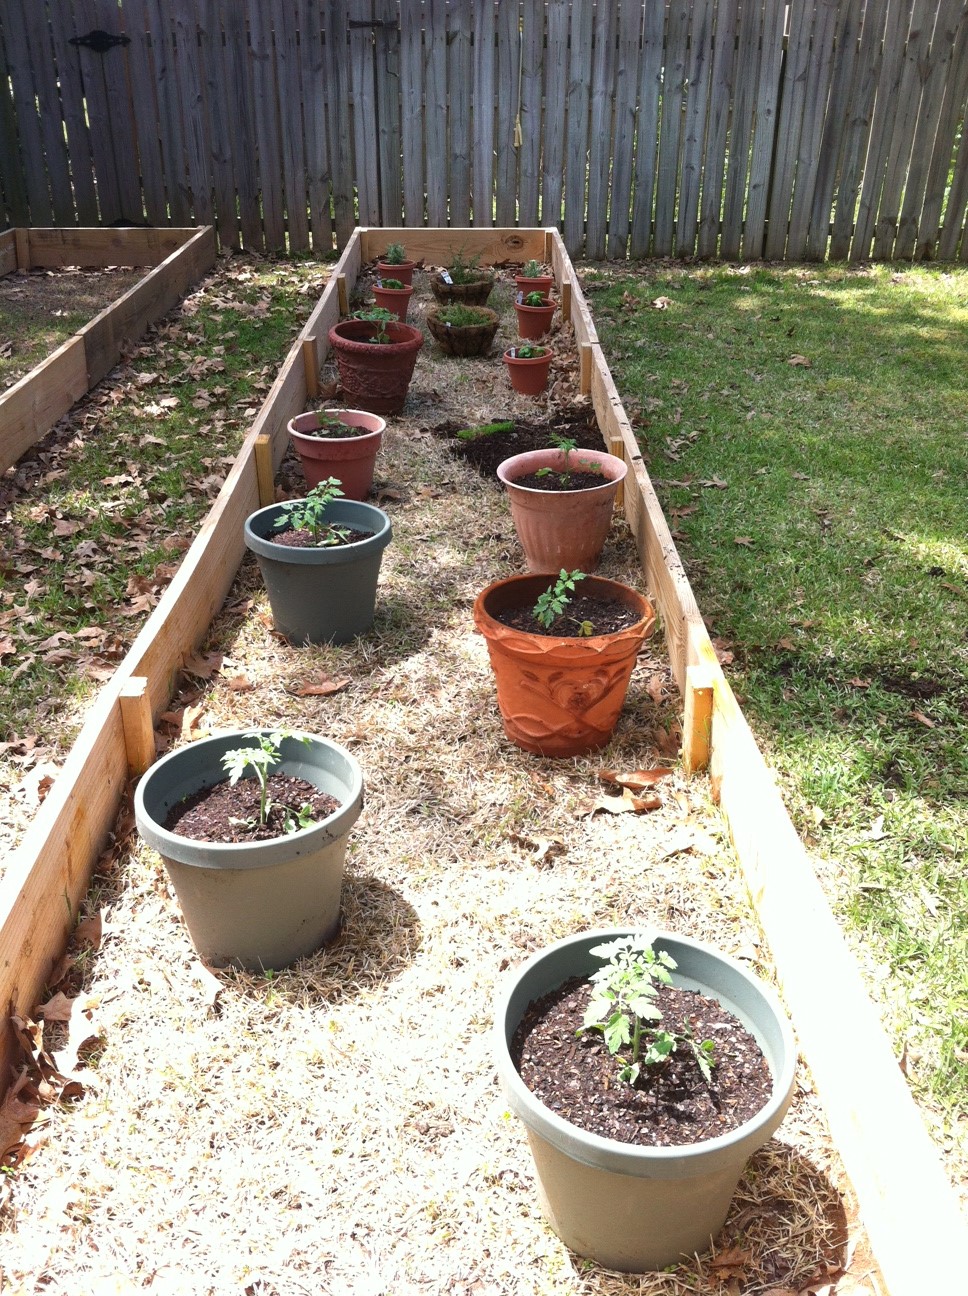
While we’re still living with my parents, my mother had my dad build some raised beds (obviously), but we never actually got around to getting the dirt for them…hence the containers. From this picture, it all looks small and a bid sad but not anymore! I wish I had a recent picture of the bed now, it’s insane.

Moving right along. The next few pictures are of my tomatoes as of last weekend, which was when the top basil picture was taken.
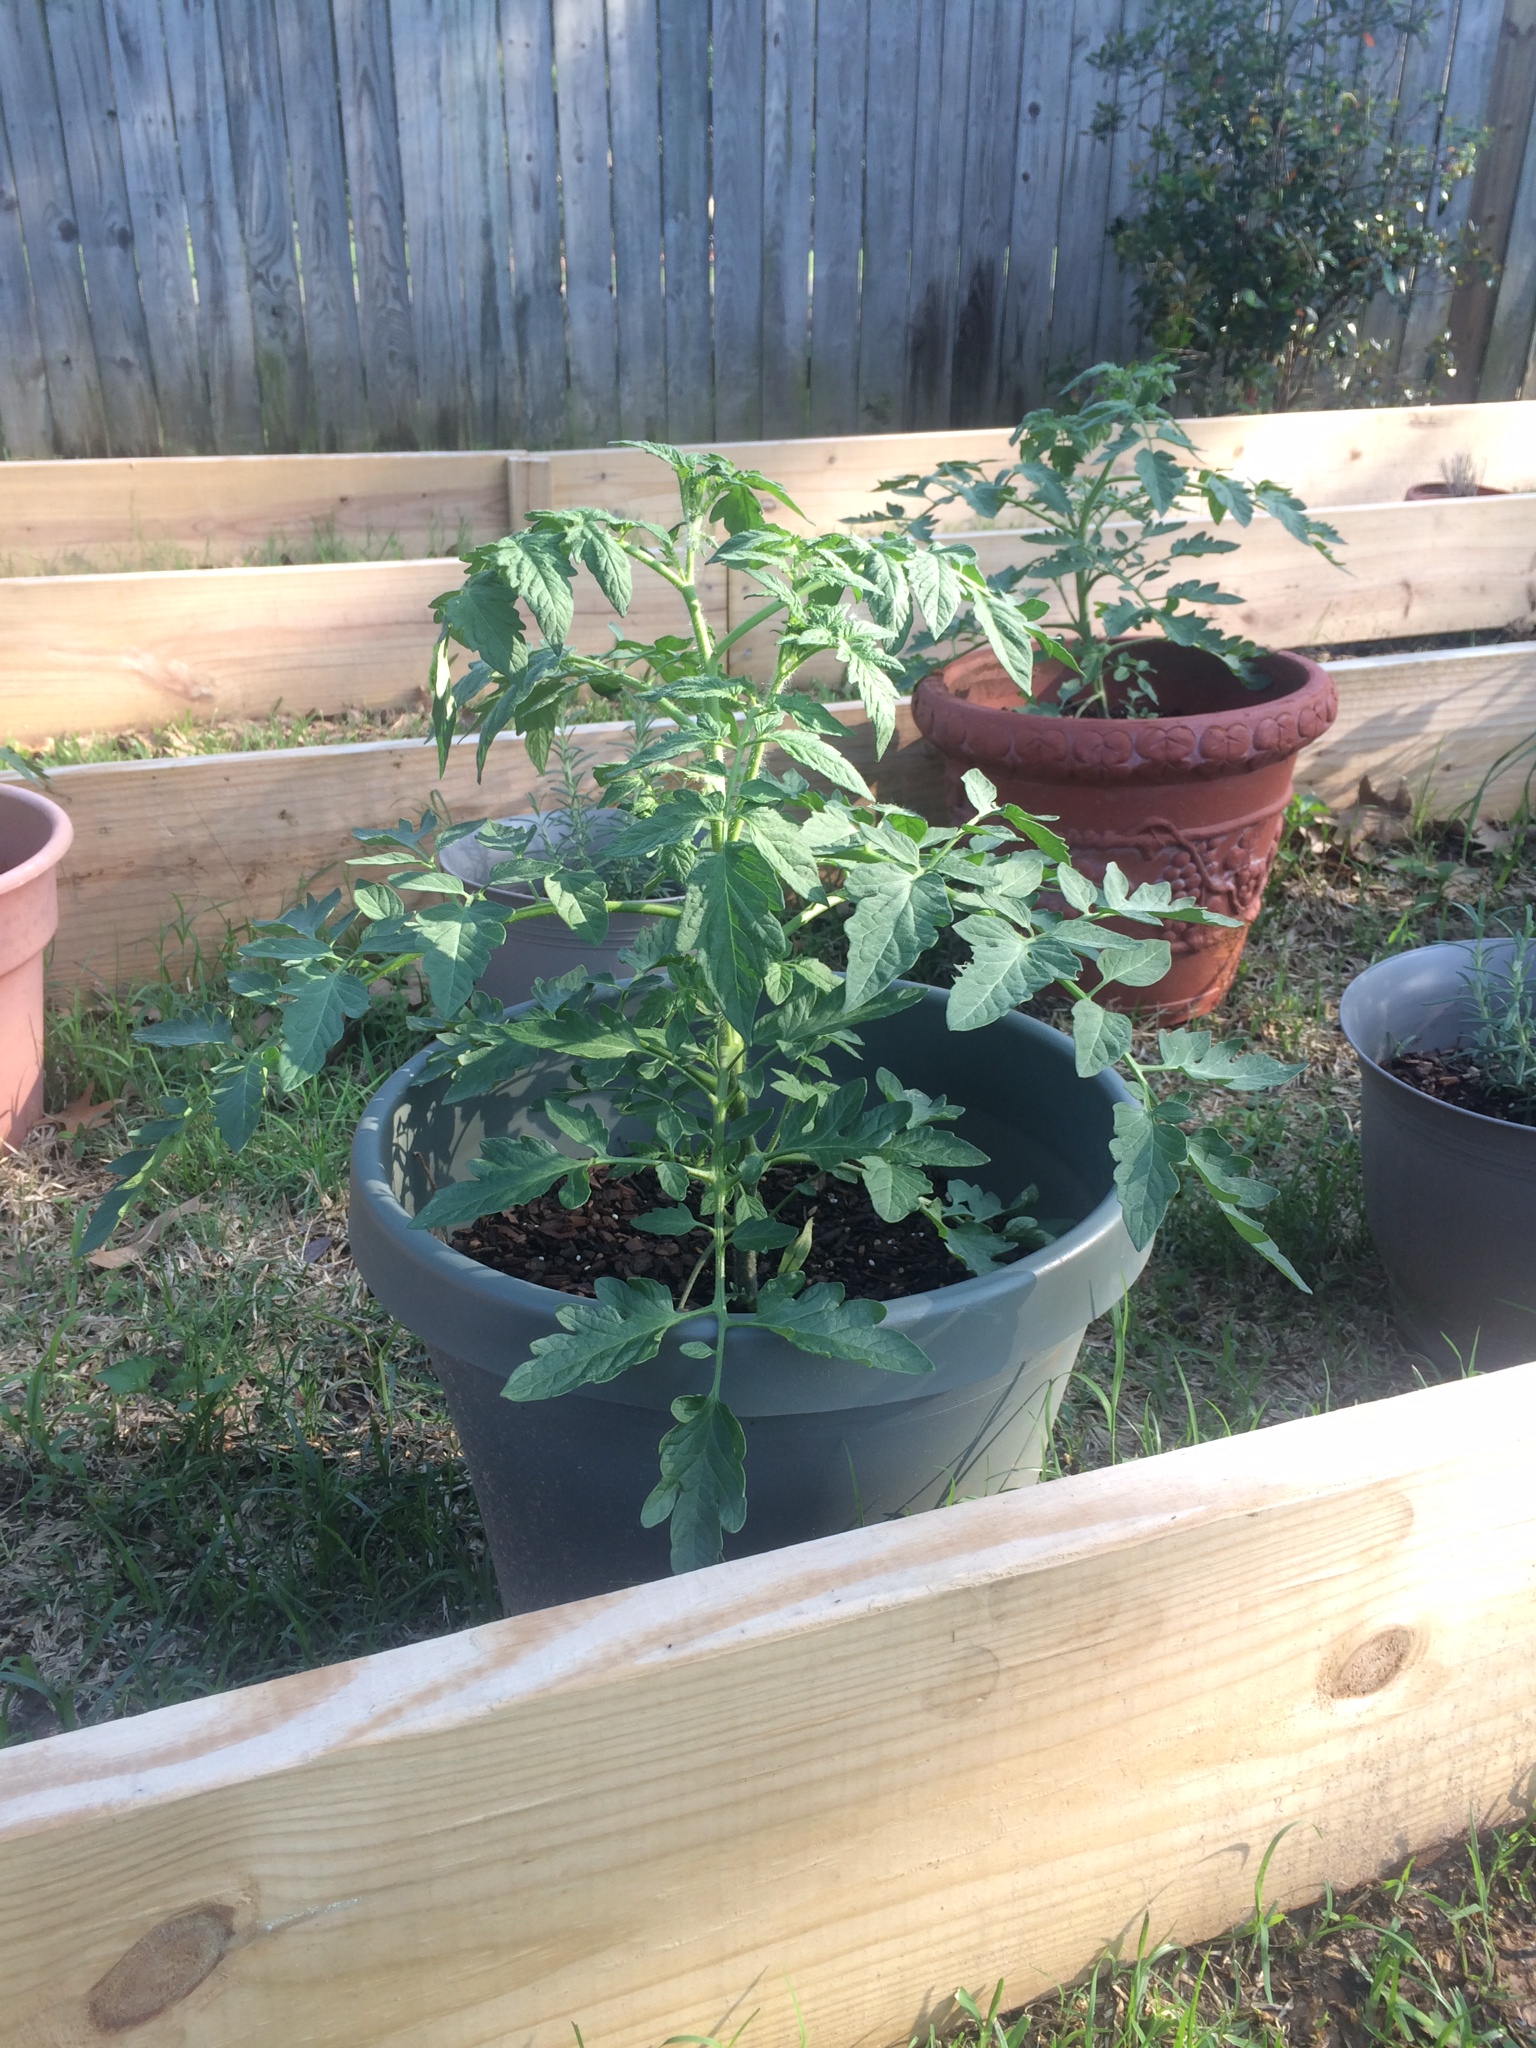
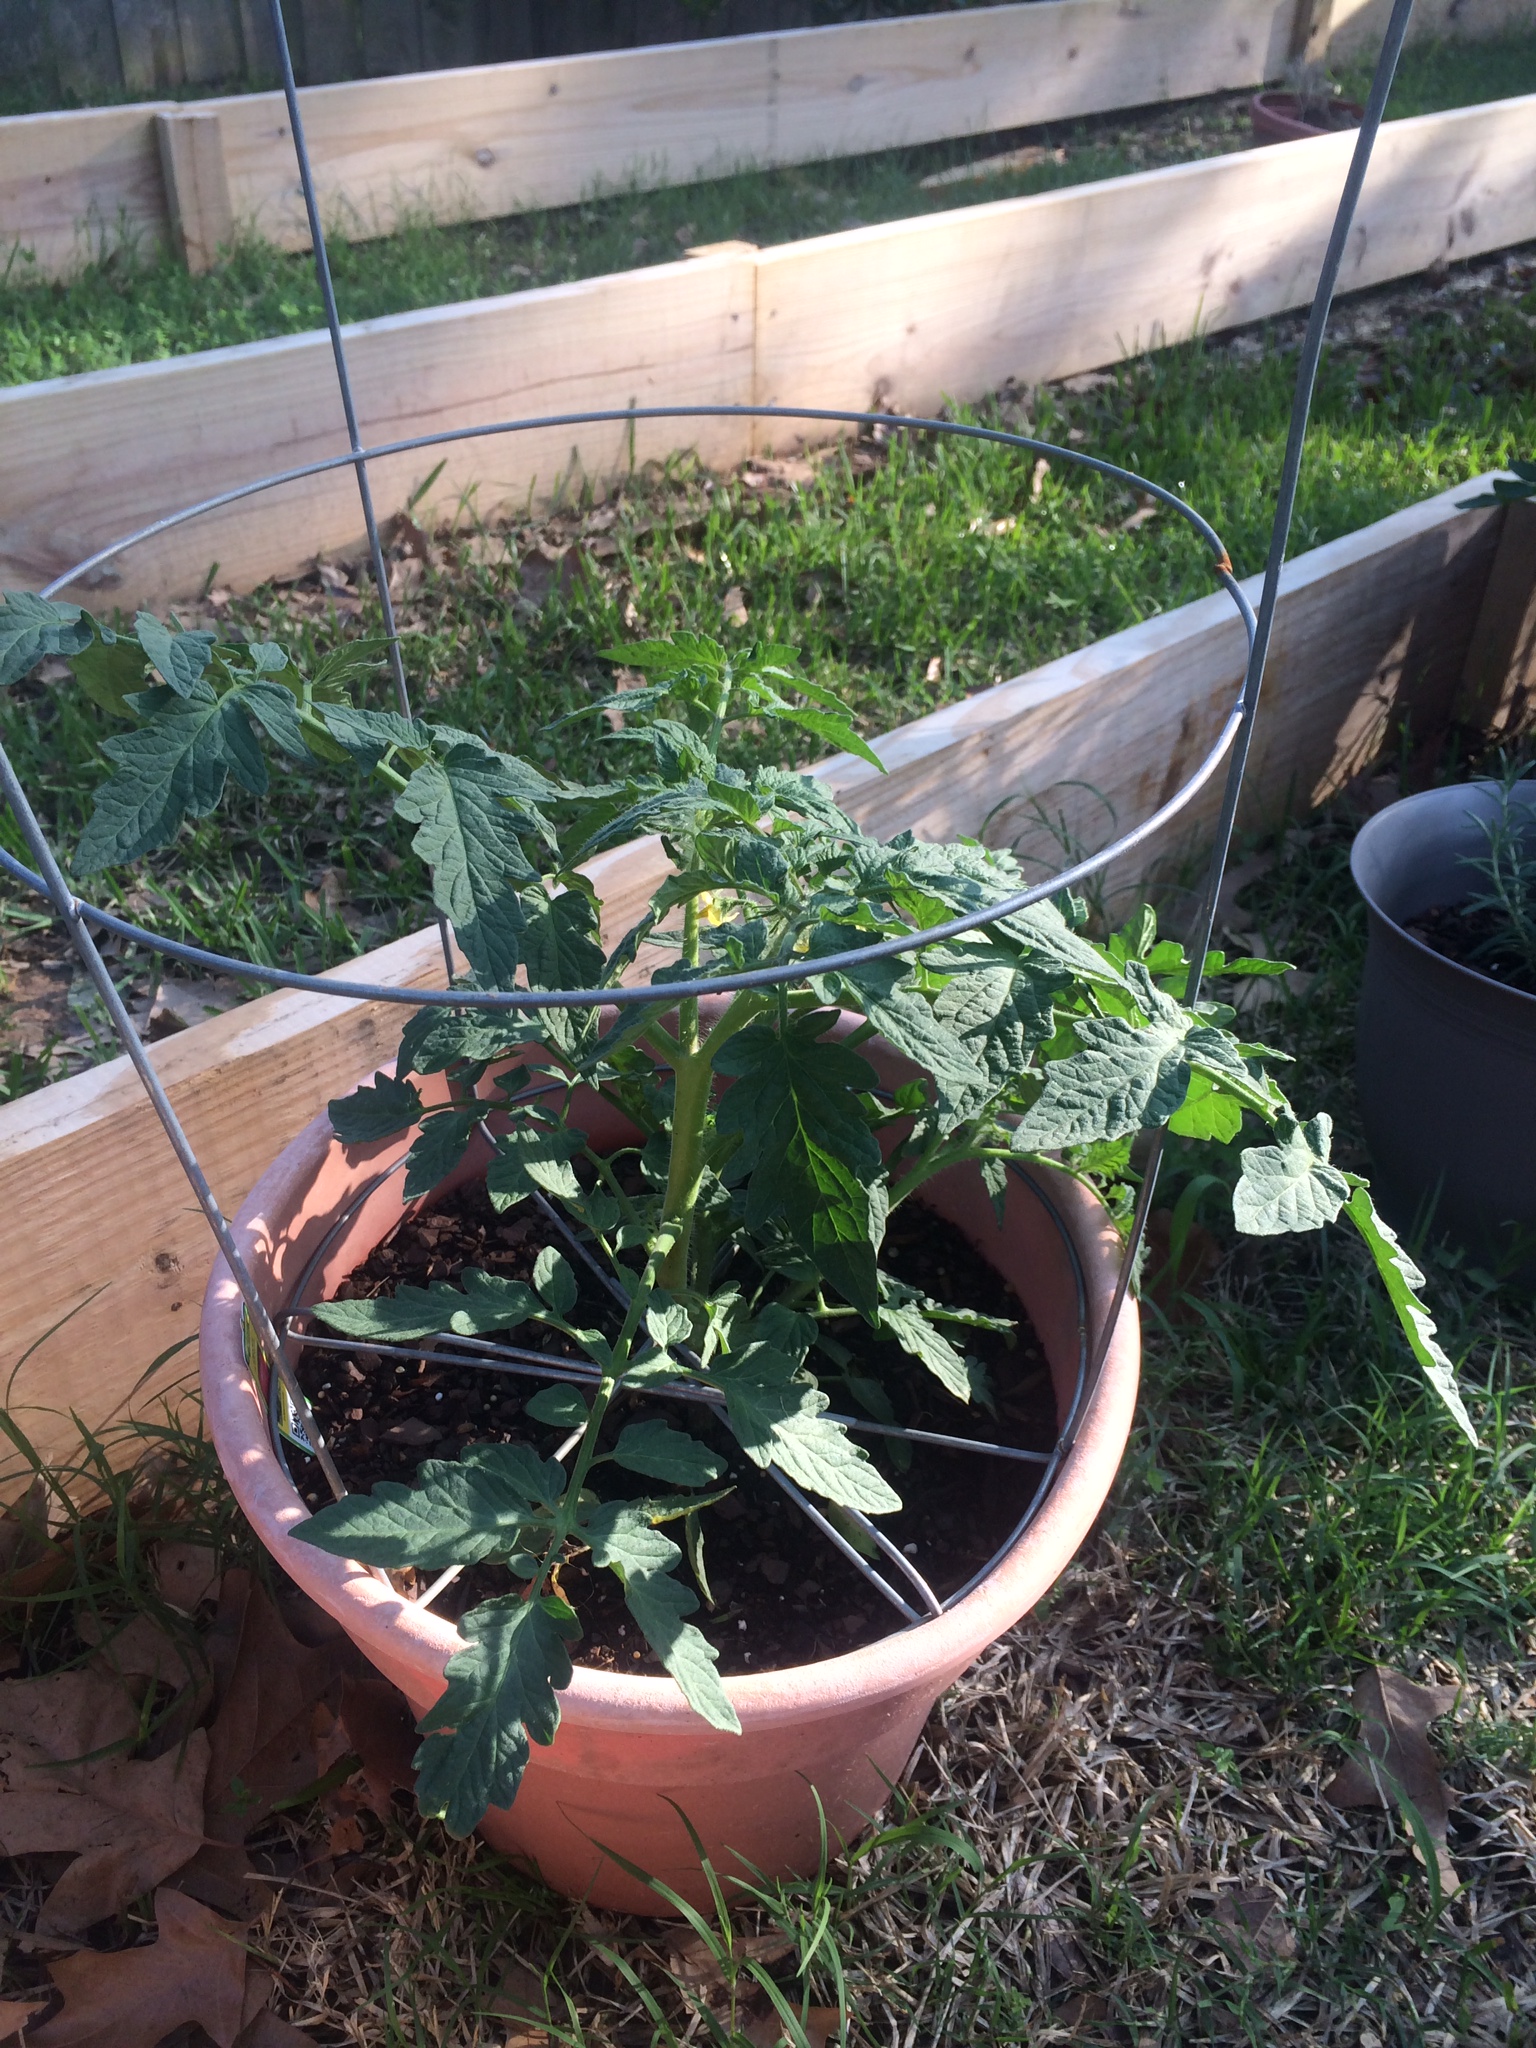
The next picture is of my hybrid plant. I’m very fond of this little tomato plant, no idea why but it’s doing wonders.


Anyway, I’ll stop boring you with pictures of my plants. Lets get down to the good stuff, the food!
Some back-story, the Hubs absolutely hates tomatoes and pretty much all it’s derivatives aside from ketchup. Then again, when we were first dating, he didn’t eat much outside of red meat, potatoes and corn. My oh my how we have progressed. I digress. The Hubs absolutely loves this sauce, he raves about it and even requests it, as do a few friends that are equally unloving to all things tomatoes. Plus it makes for a mean homemade lasagna, but that is another post for another day.
The pictures are from an old post from my previous blog, which you can see here, but it’s a little scatter-brained.
All my ingredients are fresh and organic, which I would recommend. However, I realize you might not live in an area that has a farmer’s market, or the like, so just do the best you can.
The following served 4-6 with 1 gallon bag to freeze.
Ingredients:
-8 to 10 large tomatoes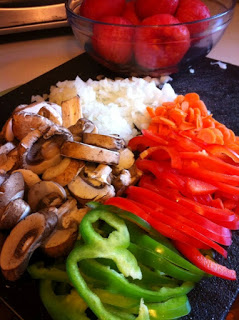
-2 green bell pepers
-1 red bell pepper
-1 small onion (I prefer yellow but white will work)
-1 package mushrooms (baby portabellas are the best!)
-4 medium sized carrots
-1 cup red wine/dark beer
-4 Tbsp butter/ghee
-2 can tomato paste (oops…I cheat!)
For the spices, not going to lie to you…I just throw a bunch of stuff in there until it tastes right. Here is “most” of what I can remember, then again, in the heat of the cooking…no telling what I actually put in there, I just know when it works.
-Marjoram
-Dash of Cumin
-Splash of Coriander
-Oregano
-Basil
-Rosemary
-Sage
-Parsley
-Thyme
-French Settlement (special family pepper)
-Salt & Pepper to taste
Materials:
-Large pot
-Bowl full of ice water
-Blender/food processor
-Skillet
Prep:
-Wash all veggies
-Slice or dice veggies, just try to get them all about the same size (see picture)
Directions:
1. Boil a pot of water. Whatever you make your tea in will work, just make sure it’s clean and it is perfectly fine to salt the water beforehand….for the maters, not the tea.
2. While waiting for the water to come to a rolling boil, core your tomatoes. Once the water is boiling, carefully put all tomatoes in and cover for about 5 minutes.
3. After 5 minutes, remove the tomatoes and place in the bowl of ice water. This helps with the removing of the skins. The tomato skin should be cracked, just peel it off and chunk it or add it to your compost pile!
4. Dump the rest of the boiling water and add butter, onions and carrots to the pot and cook on medium heat until the onions become translucent.
5. At this point, add the rest of your veggies including the tomatoes. Also add in the paste and red wine or dark beer (you can omit those but it really enhances the flavor).
6. Simmer between medium and high heat for 1 hour.
7. Once the hour is up, blend your ingredients.
-Be careful here, it will all be extremely hot!
-I usually do my blending in a blender in small batches, so as to ensure there are no extra chunks of anything.
-When everything is blended, throw it all back in there, as much as it will hold and pulse it a few good times and pour back into the pot.
8. You may want a thicker OR thinner consistency at this point. Keep in mind that the sauce will continue to get a bit thicker for the next few hours. But you can add another can of paste OR a bit of red wine/beer, depending on what you prefer. Simmer to the point of the occasional bubble, or like my family likes to call it…”blooping”.
9. The sauce will be ready to eat within an hour of the final step BUT I add on an extra 2 hour or so. The longer you can stand to leave it, the better.
9.1 If you want to add meat to your sauce, do so here. I don’t like meat in my sauce so I usually add it in last, but italian sausage (particularly homemade Craig sausage) is the best.
9.2 The meat to add, if you’re lucky enough to have some, is homemade italian Craig sausage. I usually just slice it up and cook it in a side pan, it’s easier to pick out that way, but you could remove the casing and treat it just like ground meat….because it is.
10. Stir occasionally.
11. Cook your pasta about 30 minutes before you’re ready to eat. I also recommend some garlic bread.
12. Serve accordingly. Preferably with a nice glass of wine and some fresh parmesan cheese…but that is just me.
Total cook time: 4-6hrs

It’s a semi-labor intensive recipe but not really. More like a lot of waiting around for half a day and progressively getting more hungry. Sauce is certainly not a quick meal and I know many people can whip up a batch in a fraction of the time but you should try it my way at least once. You won’t regret it. It also freezes beautifully and is a good base for all sorts of tomato based dishes.
Obviously, I am not a professional chef nor recipe writer but I come from a huge family and everything we’ve ever done and ever will do is centered around food. I assure you, it’s good. I do hope none of the directions are too confusing. If you have any questions, just ask me.
Moral of this story, dirt and food. Hah!
There is something just so basic and righteous about spending your time in the sun with your hands in the dirt, in my opinion. I can’t even begin to imagine the life my grandparents had, growing up in a world where the food you grew, was the food you ate. And now it’s all about instant gratification, manipulation and processed everything (in addition to the ever-failing economy and everything is sky high). It just makes sense to grow your own food. I grew up in a family where we congregated in the kitchen, some of my fondest memories are from my grandmothers kitchen table and grading cheese, battering fish, rolling out dough, baking a cake, or snapping beans. So when you think of all the possibilities of raising the next generation to not only do the same but more….it makes my heart smile. Let me get off the soap box before I ever really get on.
End of the day, I thoroughly enjoy this new hobby. You should try it sometime, it’s rewarding in more ways than one.
Thanks for reading and I hope you try the recipe. Let me know what you think!


Wow I am so proud of you..What size fish head for what size pot? You are doing GREAT!
LikeLike
Great blog…. I look forward to more!
LikeLike